summering

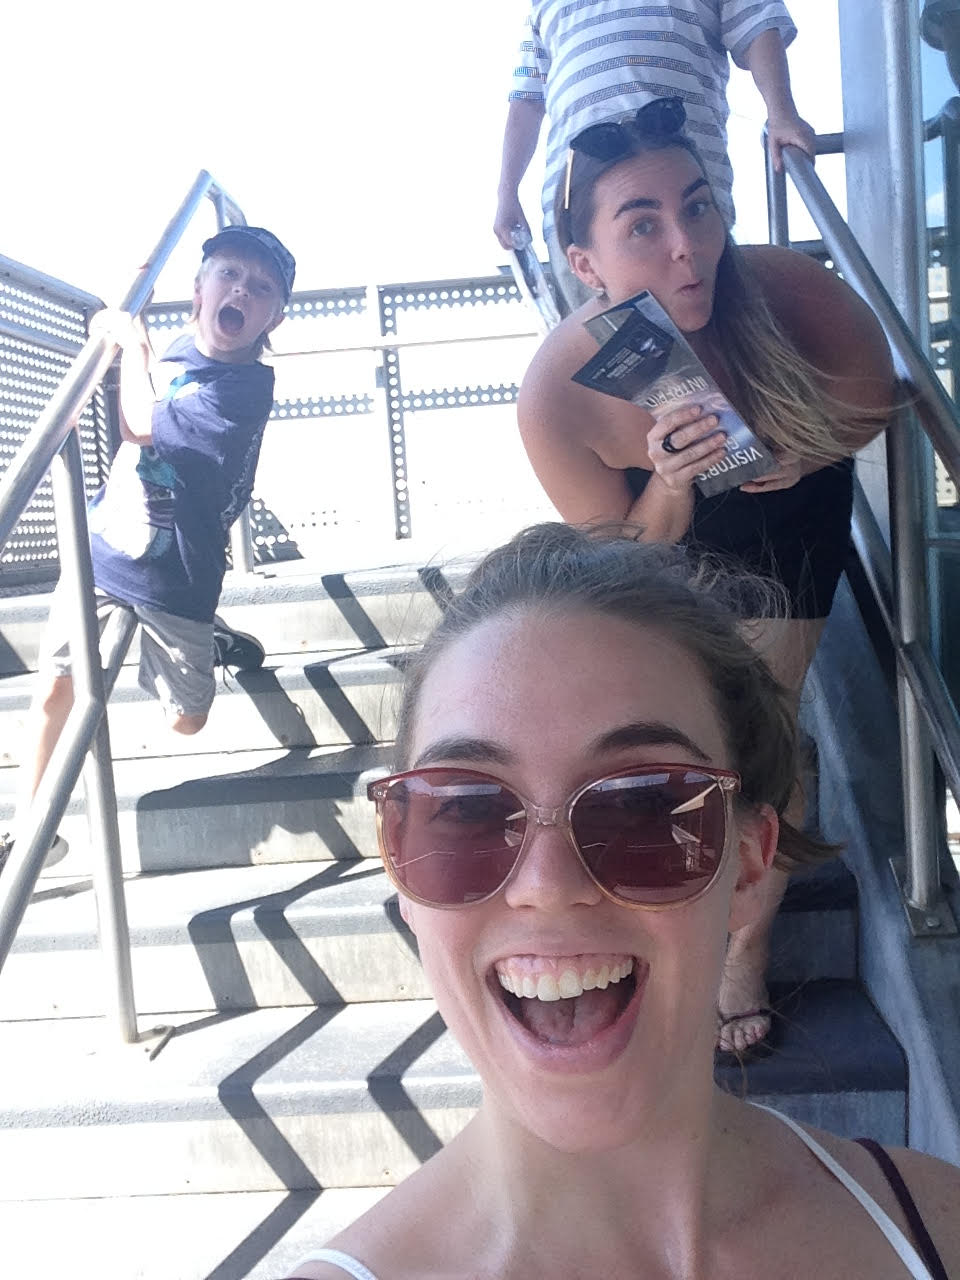
So... maybe we've taken a break from blogging over the past month? Don't get us wrong, it wasn't intentional. We were summering and adventuring and having such a good time that we forgot to write about it. Maybe that means we're doing it right?

It's looked a lot like this:

and this:

and this: 

When we weren't able to escape the NYC area, we found all the things we love about summer in the city to cope. Those things most always include sunsets, rooftops, beaches, and cupcakes. 

in the clouds
cousins on the intrepid
rockaway blues
friends and cupcakes take 1
friends and cupcakes take 2
yoga on phelps lake, wyoming
grand teton park
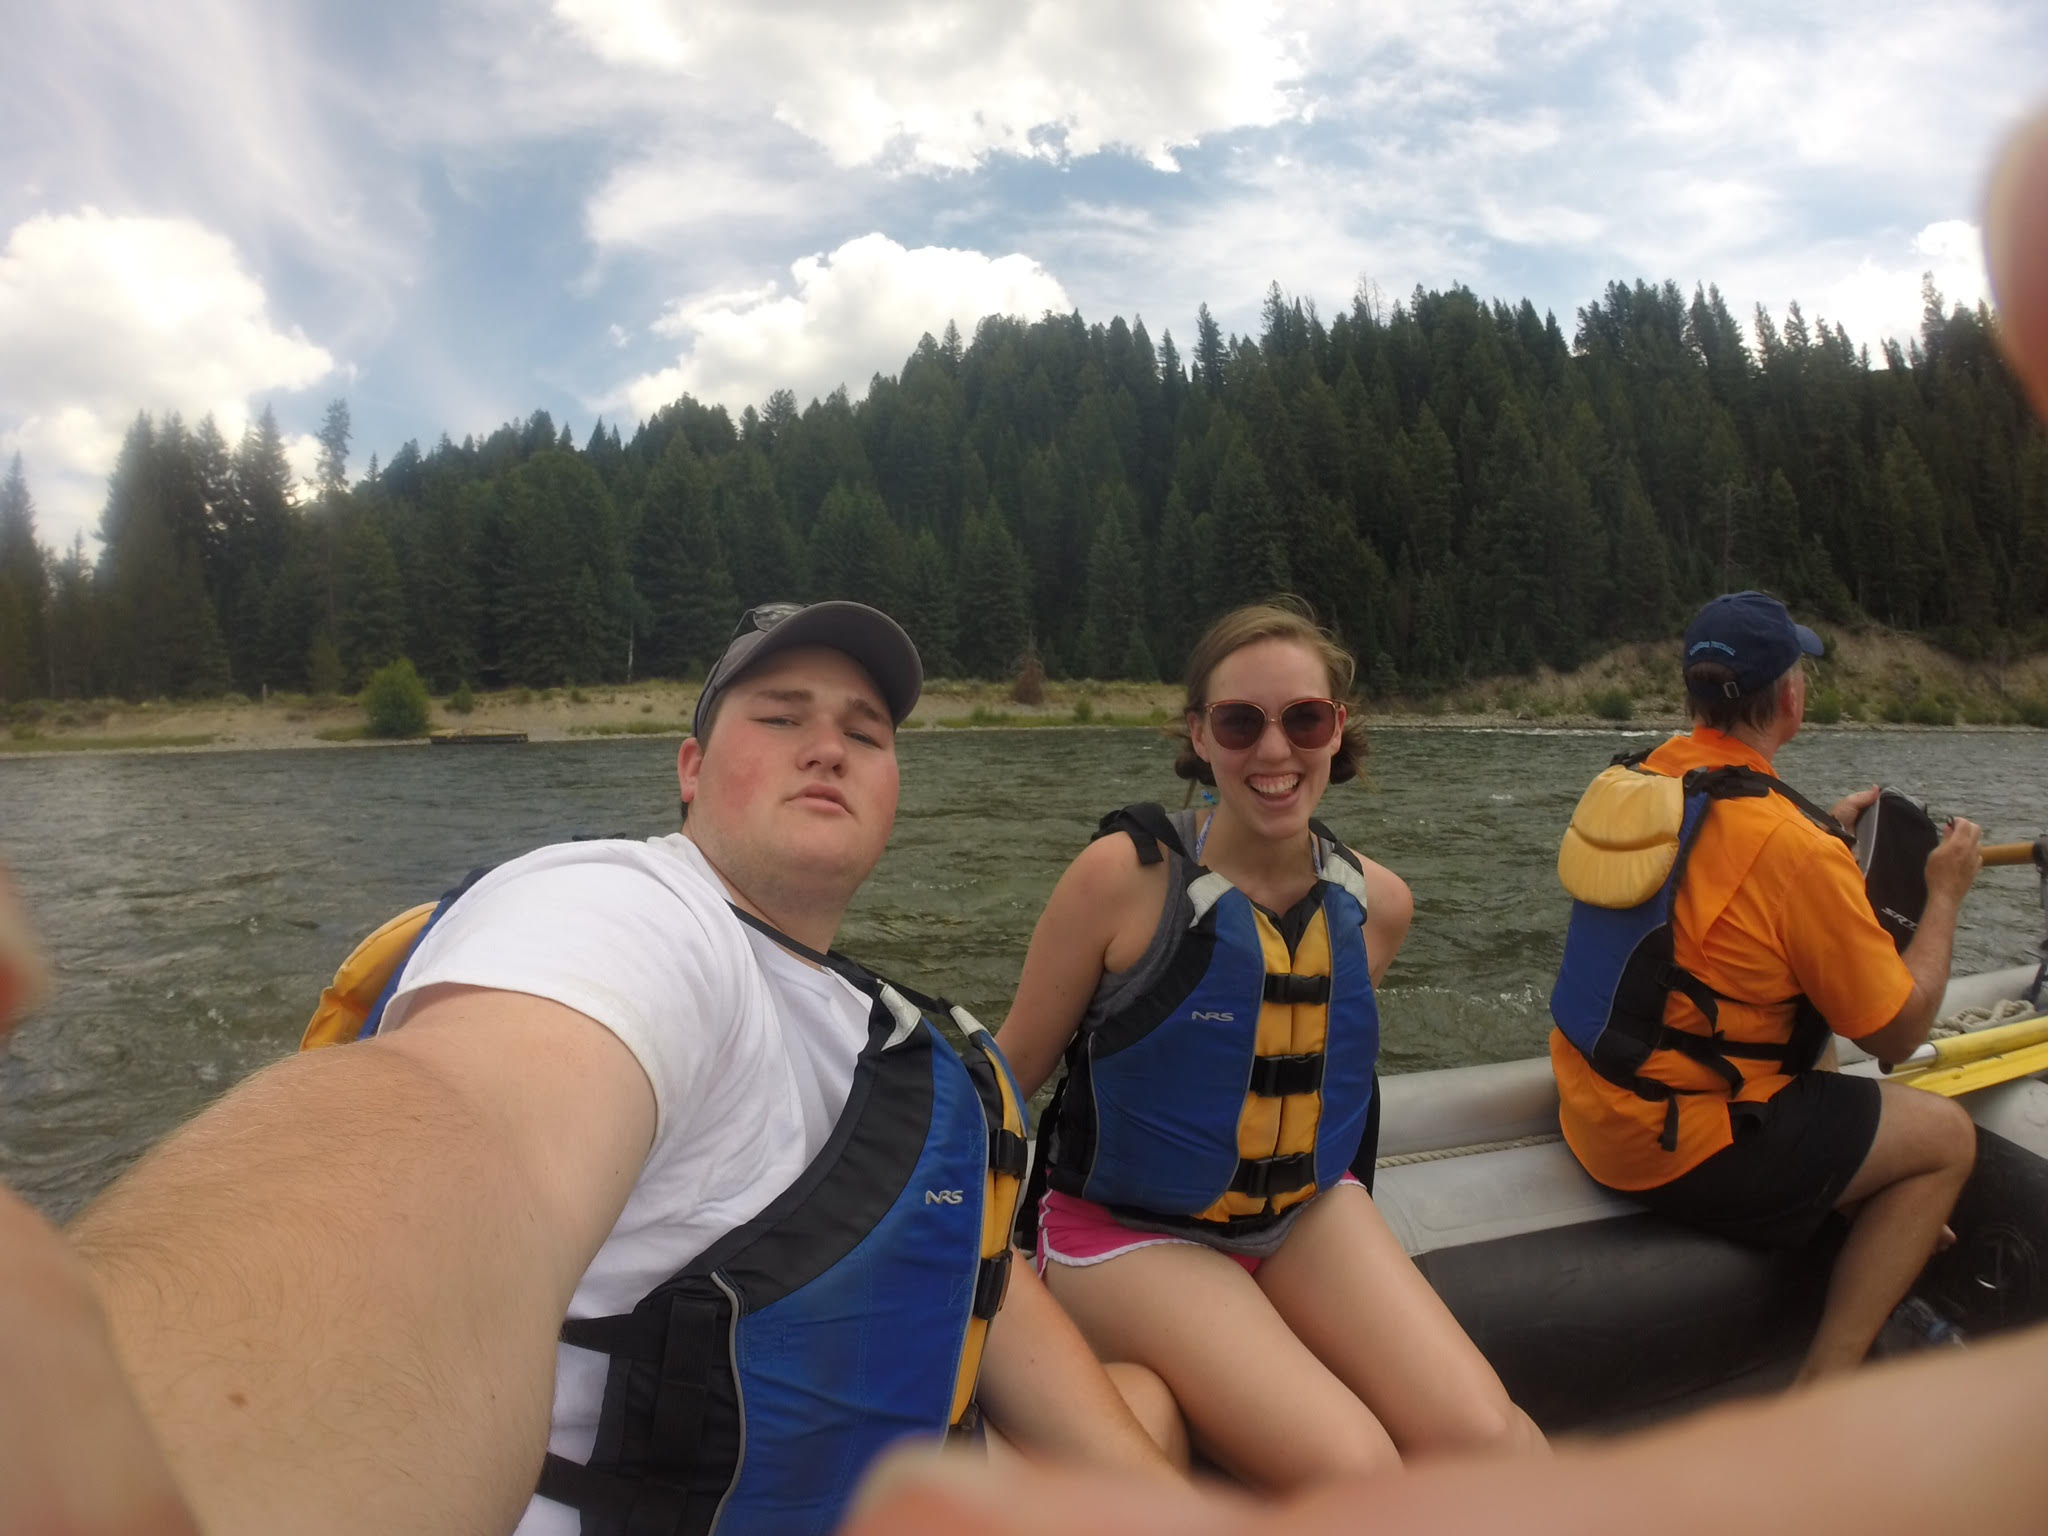
rafting the snake river
prospect park dance film
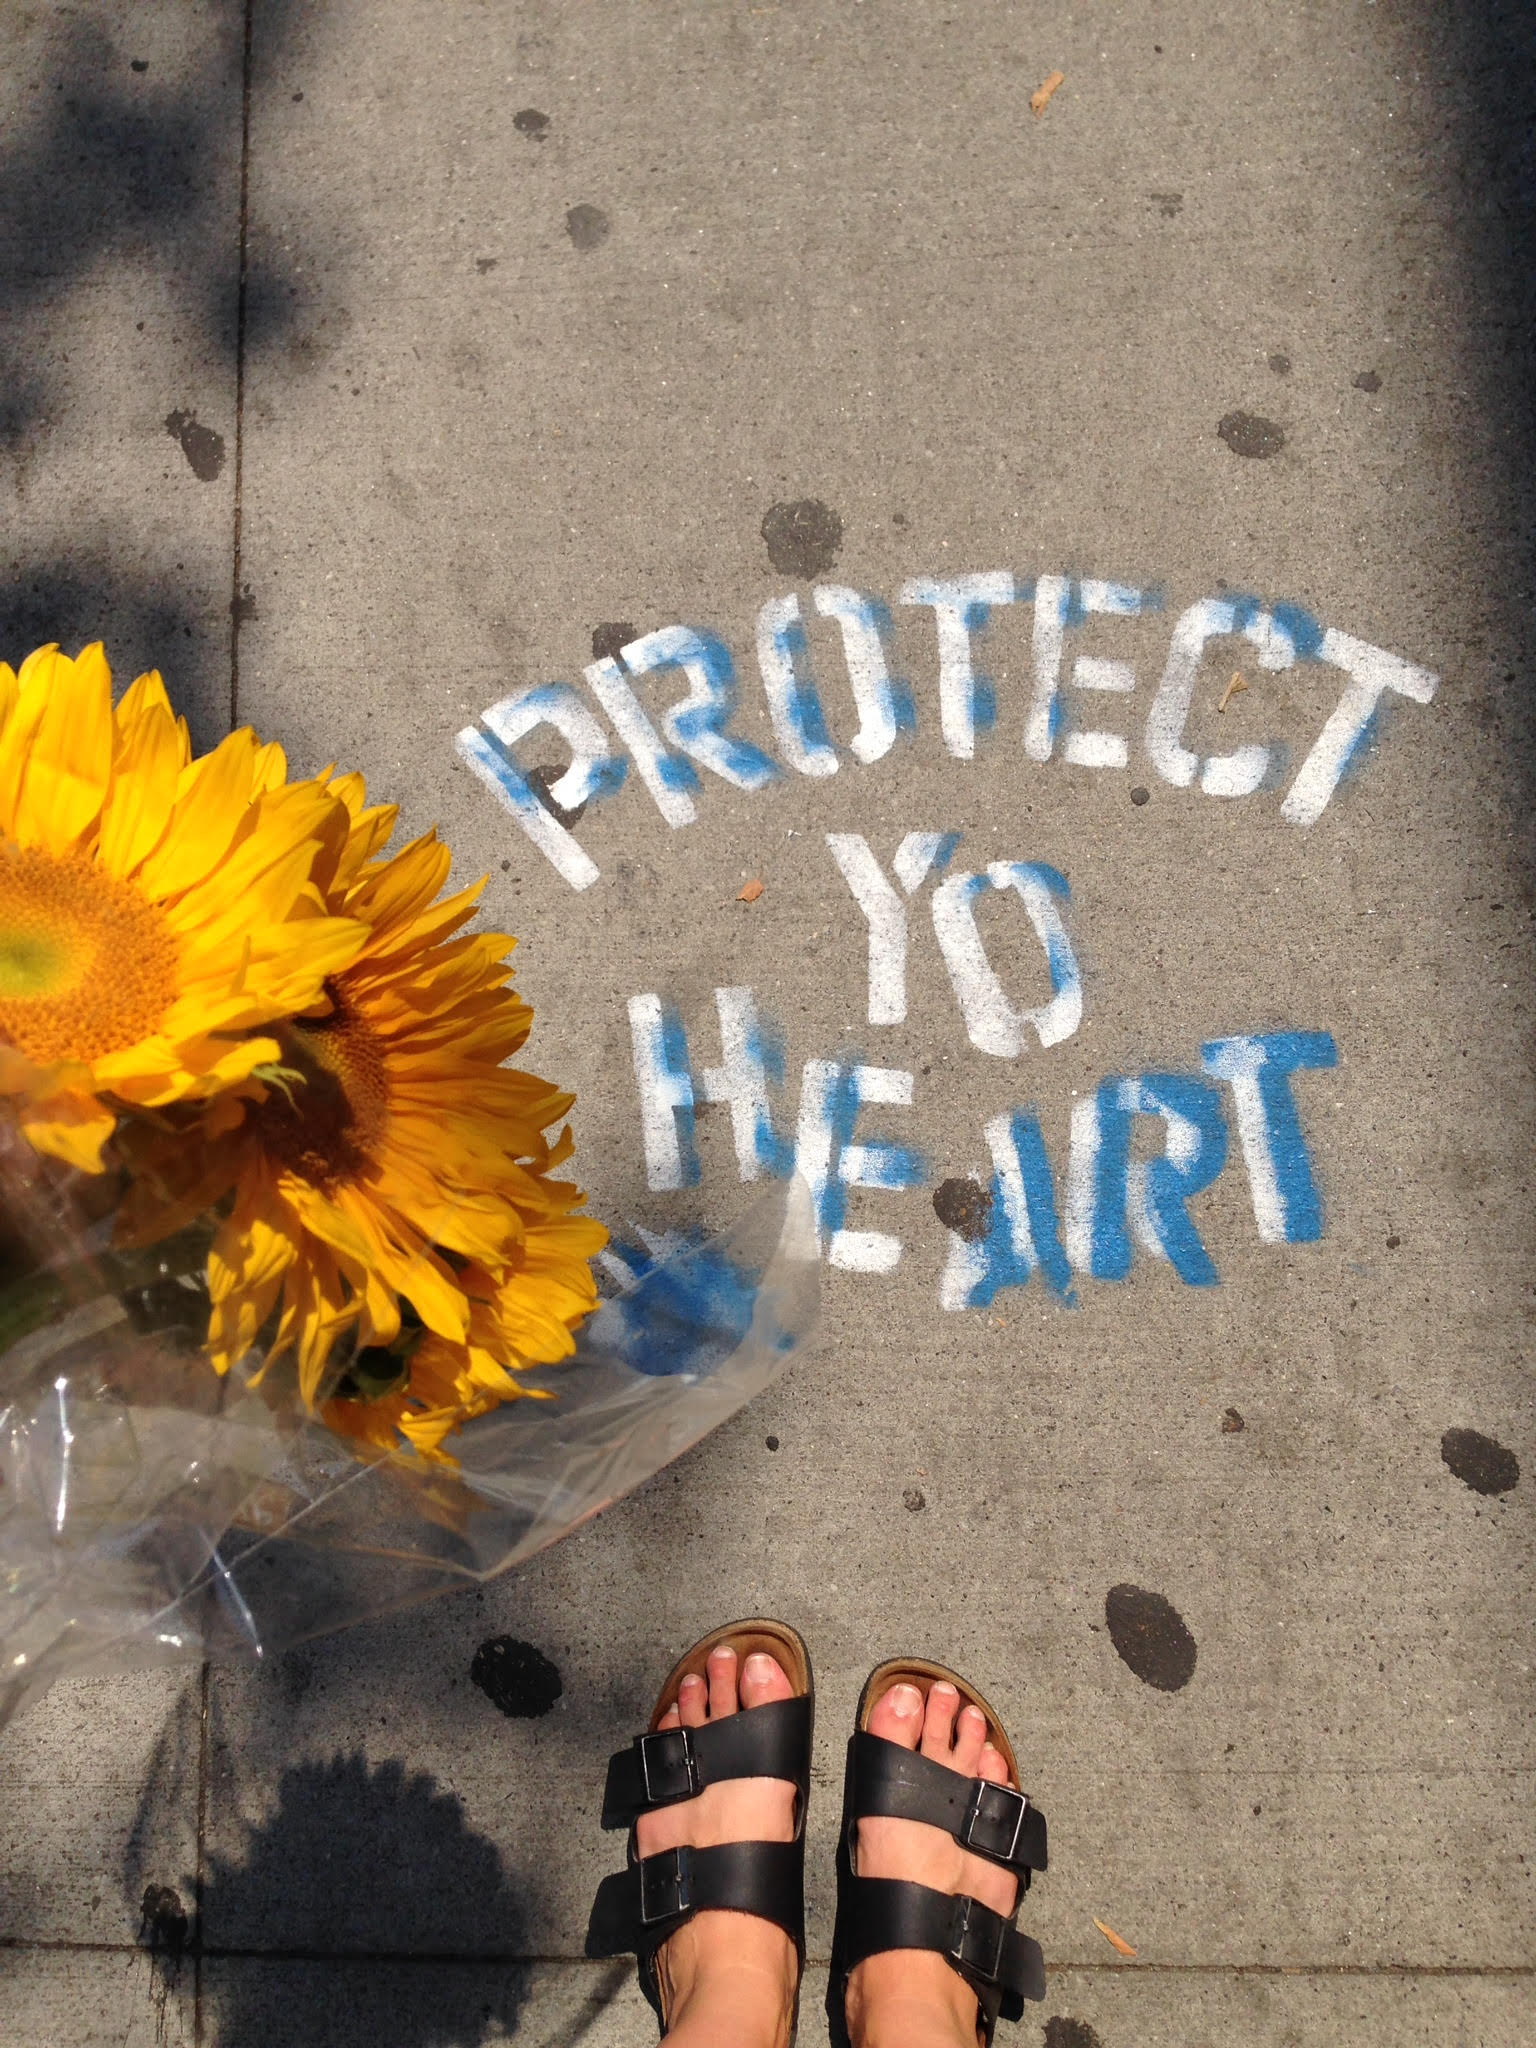
protect your heart
pool backyard life
rockaway nap
beach frolic
hudson sunset

Perhaps we enjoyed the glass of wine on the roof or savored the last moment of the sun setting over the Hudson a little too much... as the last thing I've wanted to do is go to my computer and tell you about it at the end of the day. I rather soak up these moments than sit in front of a computer screen. Do you get me? Sometimes screens seem like the loneliest thing to me. I know cell phones and social media have connected our world in a way never imagined, but there is nothing sadder than watching someone taking a selfie on a sunset-lit pier to prove to all of these mythical followers of theirs that they're having a blast, when really they're alone and they want someone to share it with. So they share it with a screen. I wonder if all these bloggers and travel writers out there actually enjoy their present? It's hard to balance being where you are and trying to document and share it all the time. How do you balance? We're trying to experience our summer, our friends, and the places we wander and share what we find. Not plan out our photo shoot of a journey before we've even taken it. We don't want to go on such predictable journeys. That's not how we roll :) And I'm so thankful for it. But boy, do we have some stories to share! And we promise we're taking the time to start sharing them again here! Sorry for the delay, we were too busy summering. 

feet up

how to survive: backpacking in the great outdoors

After what seemed like an unbearably long winter and a pretty cool spring, it finally feels like summer.  And that means it's time for me to dust off the ole backpack.  I have no plans yet for where I might go but the possibility of it is enough to motivate me through these next few weeks of classes.  Top contenders are currently Bear Mountain, the Adirondacks, and Fire Island.  If I took a less realistic approach to my current life situation and finances, I would hop on a plane to the Oregon coast in a hot second. 

Backpacking is not for everyone.  As the name implies, it requires you to carry everything on your back and limits the non-necessities one can take (ahem alcohol).  It also necessitates taking care of one's business in the great outdoors and not showering for extended periods of time… not exactly a selling point for most.

Even with those supposed drawbacks, I can't help but love it.  Backpacking is a great reminder of how little we actually need.  And after spending most of my days in a concrete jungle, it's a very welcome break from the daily grind of NYC. If you are like me and are considering a summer backpacking trip, here's what I think you need to survive:

1. Know your limits.

Before heading out, have a clear idea of how far you can hike in a day and how many days you wish to live out of your pack.  Look, I love Cheryl Strayed too but I'm going to go out on a limb here and say that the safer approach would be to work one's way up to a through-hike.  There's nothing worse than hiking 20 miles out, feeling terribly sore from carrying a heavy pack, and knowing that you have to continue to hike in order to get back out to civilization.  I guess the alternative to this would be to plan an escape route but that kind of defeats the purpose of backpacking a bit.  

2. Travel with friends.

I am all for the solo backpacking trips, despite any prior negative experiences.  However (and that is a big however) if you have never gone backpacking before, I would highly recommend that you bring a buddy.  This will also help lighten up your load as you can divide and conquer heavier items such as your tent.

3. Bring lots of snacks.

Yes, these things are heavy but as a bonus you eat down the weight on your back so every time you stop to refuel your pack magically gets lighter.  In line with this, make frequent stops for snacks and rehydration.  When I was out in Joshua Tree, I came very close to passing out due to a lack of calories and water.  A smidgen embarrassing when hiking with new friends.  That being said, don't be like me - never feel bad about telling whoever you are with that you need a break.  It will always feel much better than the alternative.  Oh and folks, now is not the time to try to lose those love handles.  For more specifics, REI has a nifty meal planning guide and I've posted some meal ideas here.

4. Be familiar with your gear.

Before starting on a trip, I make a list, lay everything out, and then I set it all up, tent included.  I still manage to forget what some may consider necessities, e.g., flashlight, but at least I know for sure that the main items are functional and packed.  Test out your stove and fuel canisters too if you are bringing them.  Also, while it may seem that you need all the bells and whistles before heading out on a backpacking adventure, I think simple is the best approach.  Who really wants to carry a 30+ lb pack on their back?  Not me.  Setting everything up ahead of time will help you figure out what should stay and what should go.

5. Don't take yourself too seriously.

You are presumably backpacking to have fun and enjoy all the awesomeness that mother nature has to offer.  Embrace it.  I don't know about you but I don't exactly look like a) I know what I am doing or b) that I am remotely attractive while backpacking.  And it just doesn't matter.  I mean you want to have some idea of what you are doing as to prevent injury to yourself, others, and the environment but there's no need to project an image of expertise. Live in the moment and just embrace your inner weirdo.

notes:

- at some point i will make a more official packing list but for now here's some of the gear i use and love: sleeping bag, sleeping pad, stove and windshield (absolute necessity with that stove), hiking boots, and winter hiking boots.  for those of you paying attention, yes those are all rei links and no i don't own stock in the company.  while i definitely shop around for the best price, when it comes to footwear i will only buy from rei.  the kind folks there took back my disgustingly dirty vasque boots after 10+ miles in the dusty desert and two lost toe nails.  my feet are forever grateful for the exchange.

- related to the above note, don't leave home without the ten essentials.  youmight want to learn some basic first aid skills while you are at it.    

- i consider myself a novice backpacker.  there are lots of amazing women (and gents) out there with all sorts of excellent advice.  for inspiration, check out April Sylva, Christy Rosander, and the lovely ladies of @dirtbarbieadventures.

diy christmas project

I finally got around last week to completing a Christmas project that I intended on making last year. Better late than never, right? It made for a good surprise and it was a lovely distraction while I procrastinated packing and purging my old apartment.

I present to you: our girly getaway!

girly getawayy
girlygetaway

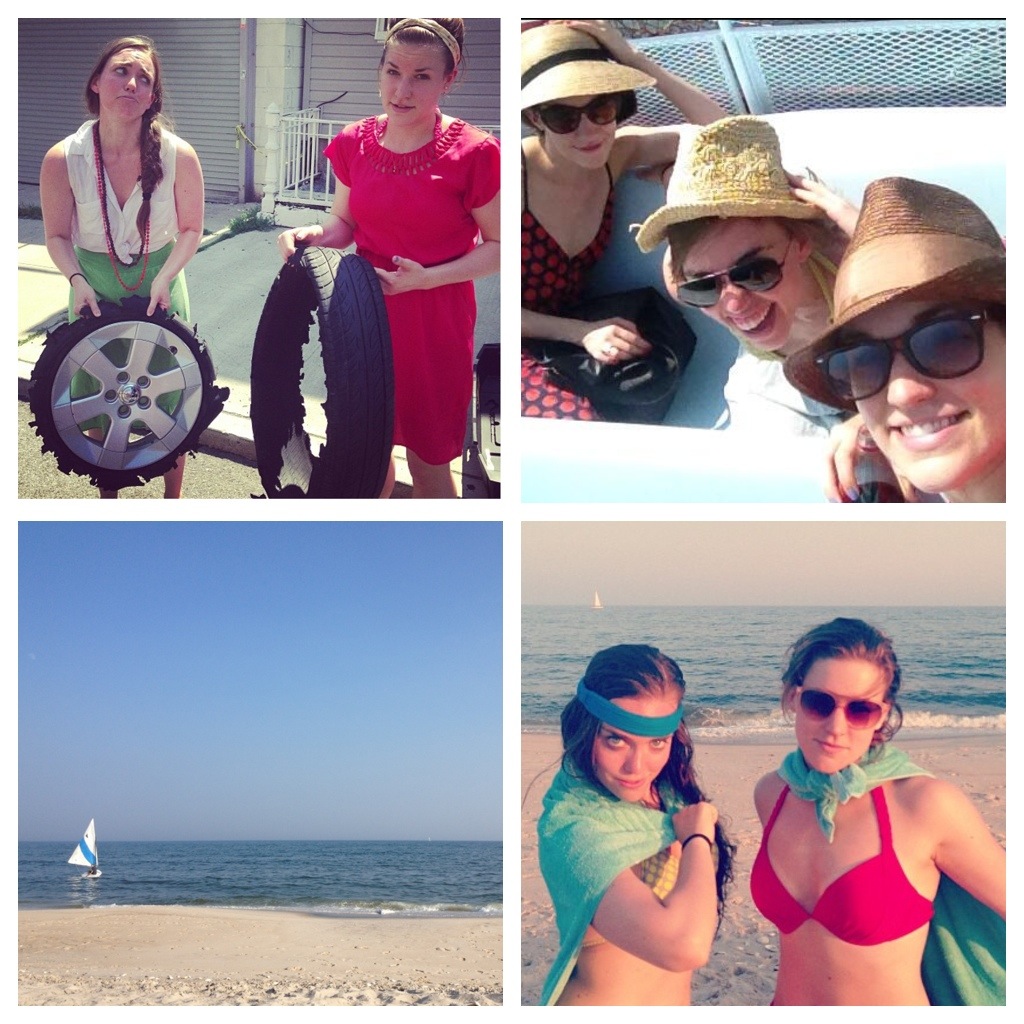
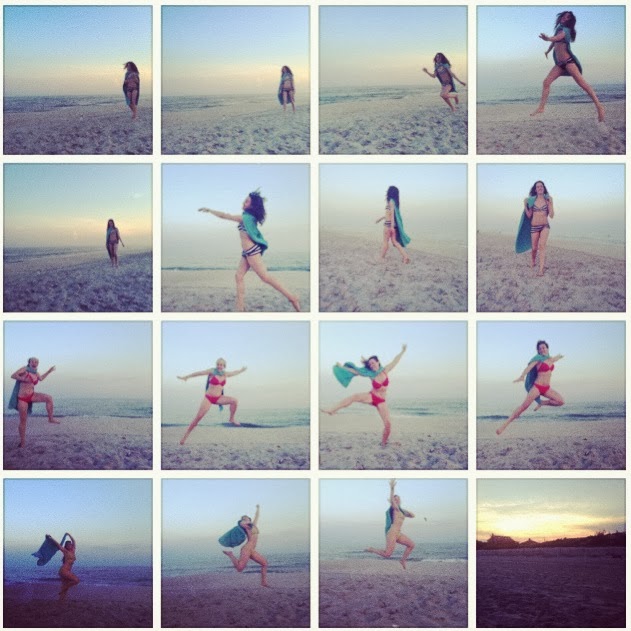
Two summers ago, the three of us took a #girlygetaway for 36 hours. All Caitlyn said she wanted for her birthday was to escape somewhere (!!!don't we all!!!), and we were all like fine. Sign me up. It's stupid that you have to pick a date 6 weeks into the future to plan 36 hours out of the city! Our lives get a hold of our calendars and we wanted to be intentional about getting some time together and seeing the ocean that heals all! We headed to Ocean Beach on Fire Island and had quite a lot of adventures in 36 hours including: getting a flat tire in the middle of the queensboro bridge in 98 degree heat, witnessing the preparations for a beach wedding proposal, getting caught in an island blackout, running into the same newly engaged couple in a bar in that blackout... oh, and getting sunburned. In the middle of all of that somewhere, we had a freeing superhero moment on the beach; an impromptu iPhone photo shoot where we acted the only kind of crazy you can be around the best of friends. We were so free.

I took a screenshot of some of these crazy photos and put it on Instagram (see above), and these two have always said they wished they had a big version of this to walk by in their homes to make them instantly smile on a gray day. (Sign me up again!) 

I knew I couldn't blow the Instagram image up, because the quality would be too low. Instead, I got each individual image and printed it. I ordered minisquares from Social Print Studio; it was $15 for a set of 48, which worked out perfectly for me, as I needed 16 for each frame! (They delivered unbelievably quick too!)  I picked up some square picture frames at a Christmas Tree Shop (like a JoAnn's for us Southern folk) that had a canvas of a golfer inside. They were on clearance for about under $5 each, so I swiped up three of them, one for each of us. I couldn't make one for them and not for me too! I knew if I went to buy picture frames, I'd have to pay wayyyy more, which is silly. I'd either take Mr. Golfer out and lay him to rest or figure out something to do with him.

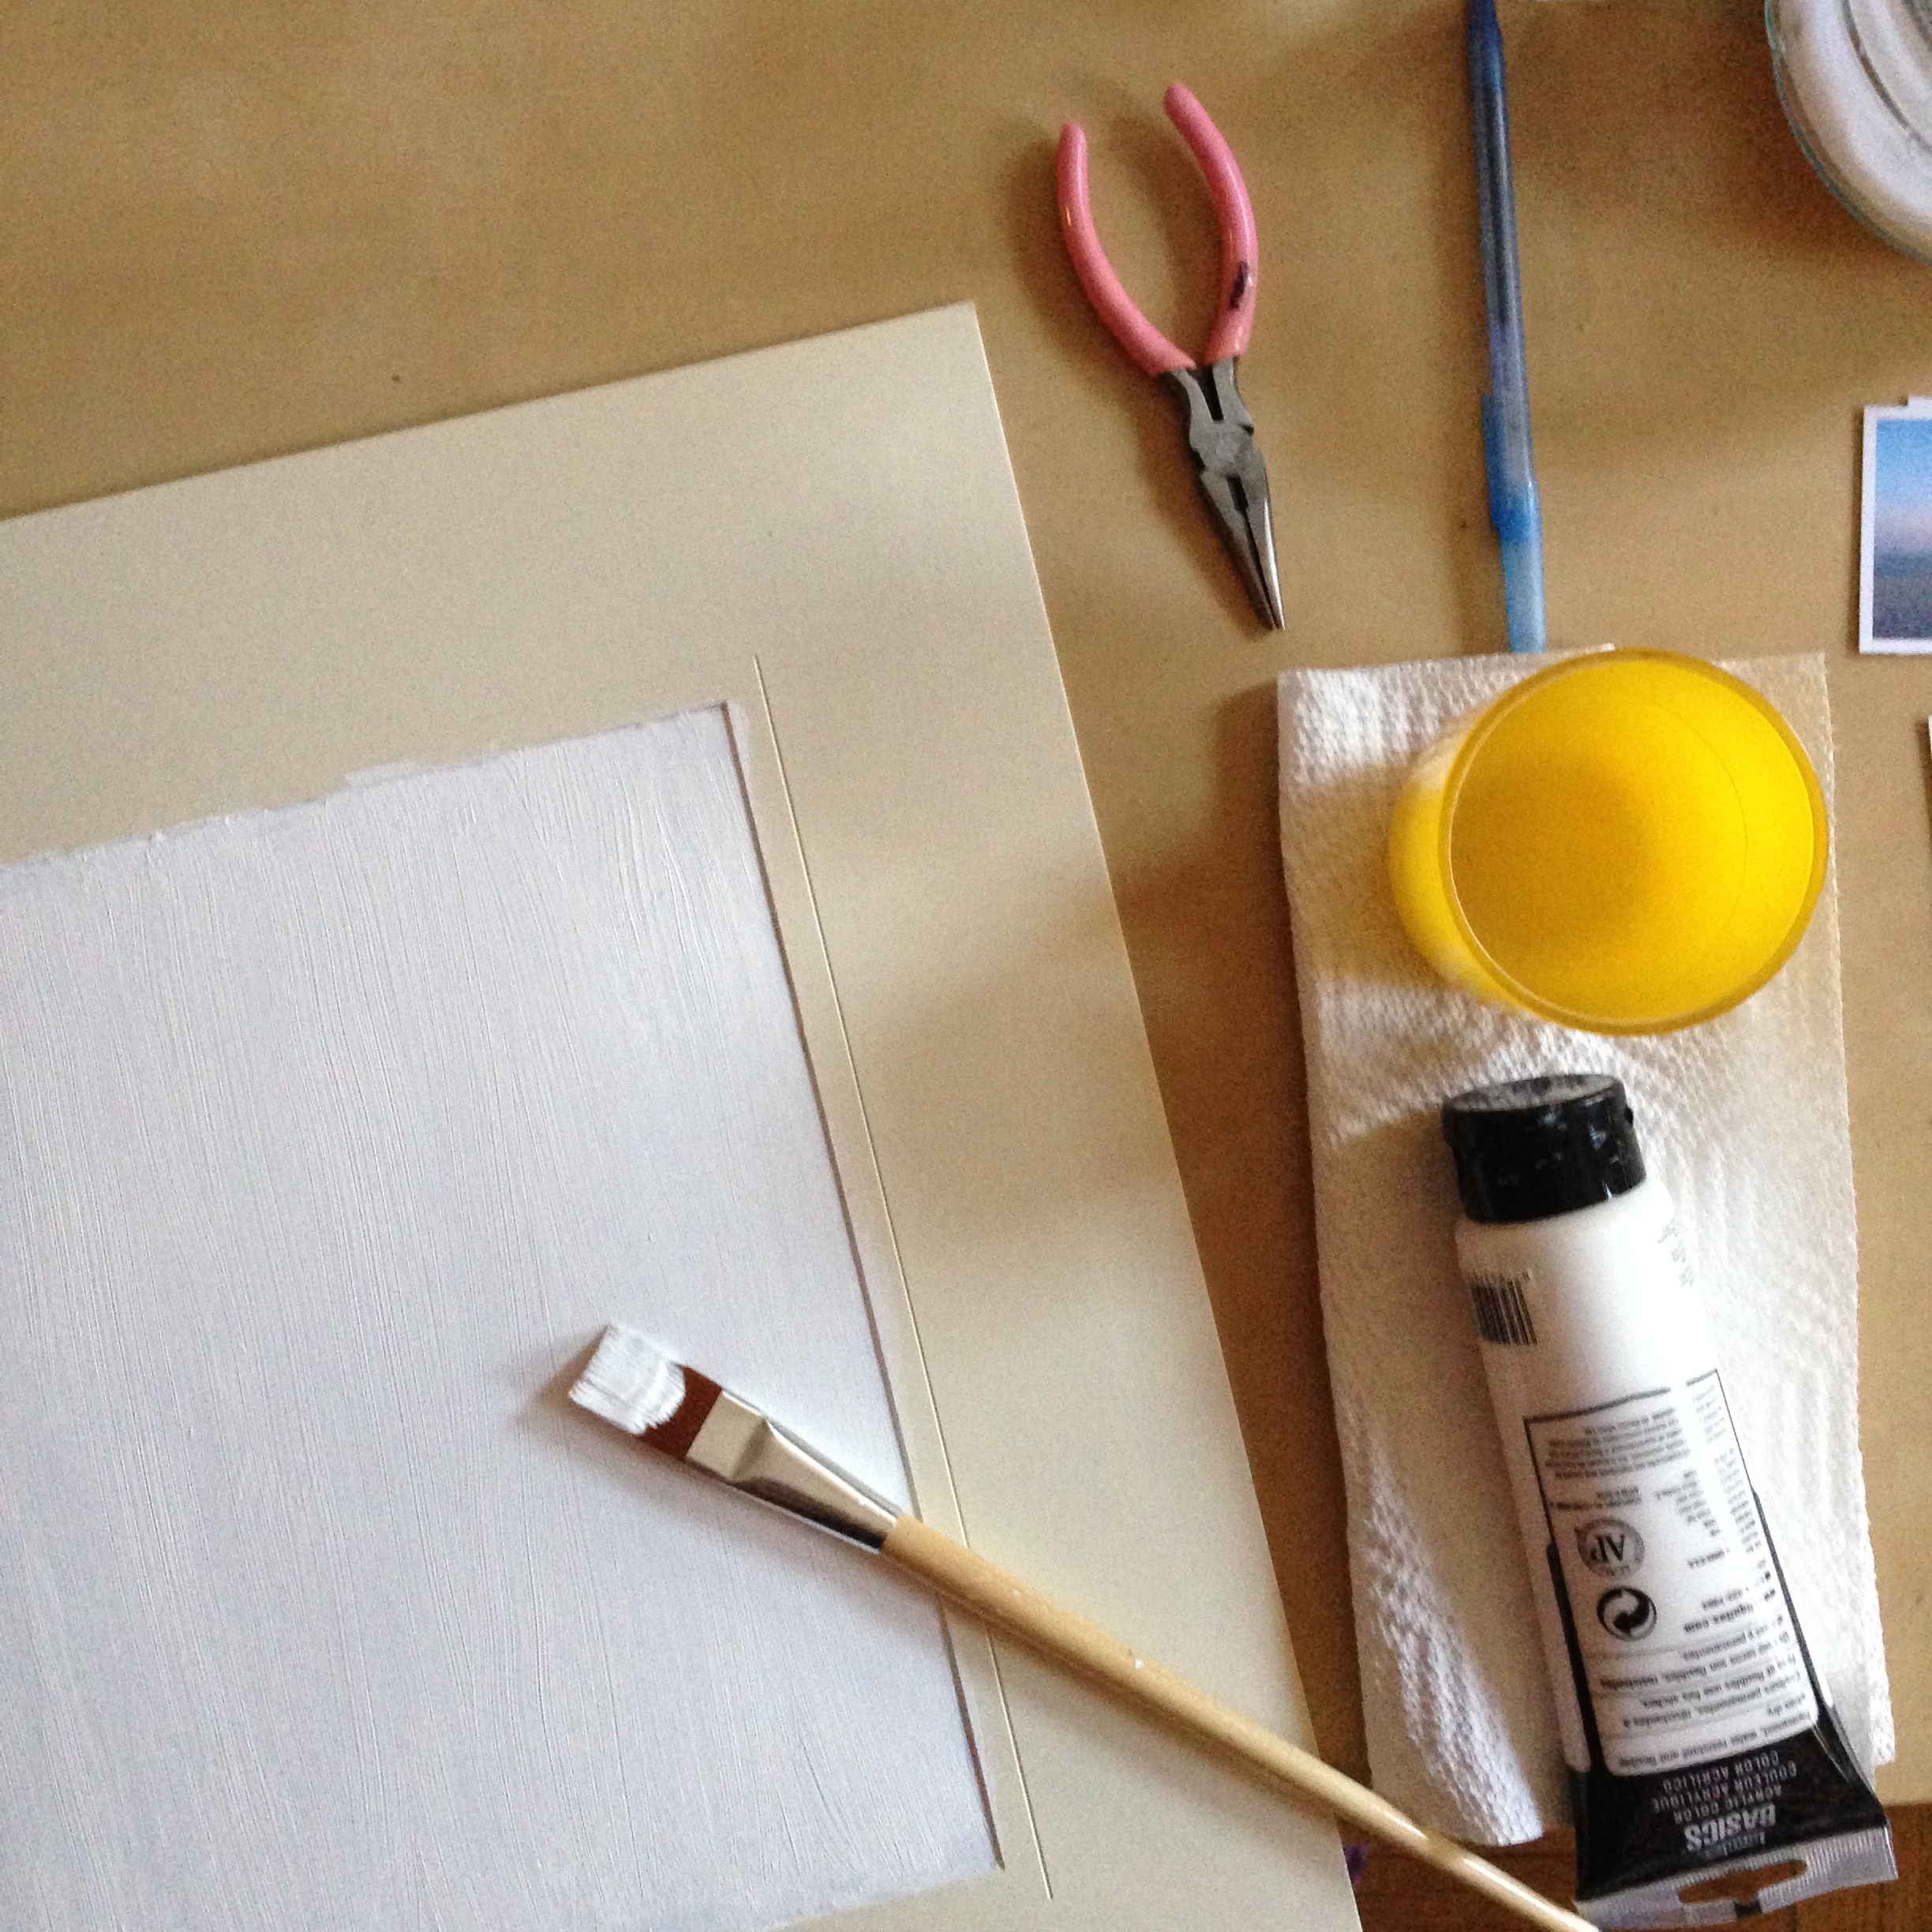
First, I organized the prints into the order they would appear in the frame. I may have put numbers on the back of them, because I'm a nerd and it could get confusing. I took apart the frames, weaseled my way inside, and realized I needed something to mount all these photos on. So, I removed the canvas, painted it white (Bye Mr. Golfer! It's true, I used you for your house), and stuck the photos on top! You could use heavy tape to do this or decoupage, depending on the frame you find and what you're mounting your photos on. I made sure the seal the back of the frame securely so we wouldn't lose anyone. 

diy 1
diy golfer
diy 2
diy 3
diy 4
diy 5
diy 6
diy 7

Voila! The girls loved them. I hope they continue to make us smile throughout the winter, that giddy sort of smile, and remember our next DIY summer getaway could be right around the corner!

What can you make the celebrate a travel memory that will also inspire  you to plan your next adventure? I think what I loved about this project was that it wasn't perfect- there isn't a perfect DIY formula, lo siento. Truly do-it-yourself. I didn't even paint properly in the lines. Find a vision, and find a way to blow it up and frame it. Happy Holidays!